Unboxing


Printing with PVA
I used 60 to 70 Celsius (°C) warm water to melt the PVA for about 3 hours, but the result might vary.


Control The LED Light
Ultimaker 3’s current firmware does not allow you to turn the printer LED off.
I sleep with my 3D printer next to my bed, so I need it off.
Here is what you do to turn the LED off
Add this line
M142 r0 g0 b0 w0 after T0
The printer LED will turn off automatically once the nozzle and the build plate reaches its’ temperature.


Camera with internal LED off
APIs
https://ultimaker.com/en/community/23329-inside-the-ultimaker-3-day-3-remote-access-part-2
Changing the LEDs and heating up.
Important note, in firmware versions 3.4.x these APIs are broken. They should be fixed as of firmware version 3.5.x
Changing the temperature. This is easy, we want to set the target temperature. The APIs for this are:
- /api/v1/printer/heads/0/extruders/0/hotend/temperature/target
- /api/v1/printer/heads/0/extruders/1/hotend/temperature/target
- /api/v1/printer/bed/temperature/target
And, just like the name, you can just put a value into it to change the target. As this needs to be in JSON format, it needs to be a number without quotes, while the name was a string and thus needed quotes.
Setting the LED brightness and colors can be done in a single call. There are the APIs:
- /api/v1/printer/led
- /api/v1/printer/led/brightness
- /api/v1/printer/led/saturation
- /api/v1/printer/led/hue
The last 3 set each value seperately, but the first one can be used to set all 3 in one go. You do this by sending a single json dictionary containing the proper key/value combinations to /api/v1/printer/led. Once again, this needs to be a HTTP PUT request.
Example:
{"brightness": 50.0, "saturation": 20.0, "hue": 100.0}Note, the current implementation of the API returns no status when you do this. So you do not know exactly if the request was accepted.
Starting a print
Starting a print is the most complex call there is, as you need to send a multi-part file upload. If you are not using a library for HTTP communication. Forget about it.
Else, it’s easy, just do a HTTP POST request with a file upload to /api/v1/print_job, with the name of the file parameter to “file”.
Abort/pausing a print job
You might want to abort or pause a print job remotely. This is all done trough the /api/v1/print_job/state API. Once again with PUT requests.
You need to PUT the new state you want into this state API, in the form {“target”: “new state”}. There are 3 possible things you can PUT here.
- abort, requests the print to be aborted.
- pause, if the print isn’t paused it will do so now.
- print, if the print is paused, it will resume printing.
Note that this API in the current implementation always reports no content. So you need to poll the state to see if you request was actually honored.
Monitor your print
For video streaming use this URL
http://192.168.0.108:8080/?action=stream
For snapshot use this URL
http://192.168.0.108:8080/?action=snapshot
Replace 192.168.0.108 with the printer ip address
You can find the IP address in Network tab on the Ulitmaker 3
You can setup DDNS and port map it to 8080 on your router for your printer camera using a DDNS service.
This will allow you to monitor your prints anywhere in the world.
Port Mapping on Mac for your printer camera
Here is a quick way of port mapping using your Mac.
#1 Downloaded the app port forwarding wizard for free on the app store
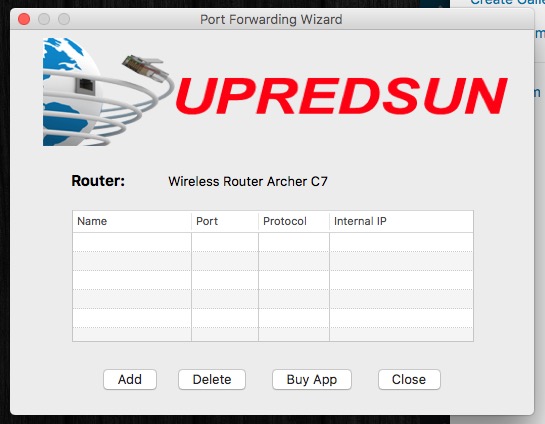
#2 Add your 3d printer camera to the list but clicking the Add.
Enter the internal ip address


#4 Look up your public IP address (public IP address)
http://Internal_IP_Address:8080/?action=stream
http://Internal_IP_Address:8080/?action=snapshot
Replace “Internal_IP_Address” with with your public IP address.
You can figure out your public IP by googling “what is my ip”
Now you can live stream your printer video anywhere in the world as long as the program is running or you have the DDNS setup.

Wheel Test


