Using Atmega328p
I would like to make 2 servos with 2 degree of freedom that moves up and down and side to side based on the finger gestures. I require more pins than the Attiny 44. I decided to go with Atmega328p and make my own version of Arduino ( same as Arduino pro mini board).
It took me a few trials to get the basic board running, but once it’s working I added the reset button, the USB external power jack (unregulated) and I added several servo pins.
I limited my self to design the board under 4″ by 2″, I also broke out several Analog and Digital pins.
I used the following charts to help me map out the board.


Tip: To make the milling and stuffing easier you will want to make the pads that only comes from inside of the IC longer, extend the out a bit more. Also deleting the unused pin traces also helps with the stuffing. (The IC has enough pins to hold itself in place)
Example: I deleted the unused USB data pins, only leave the GND and VCC


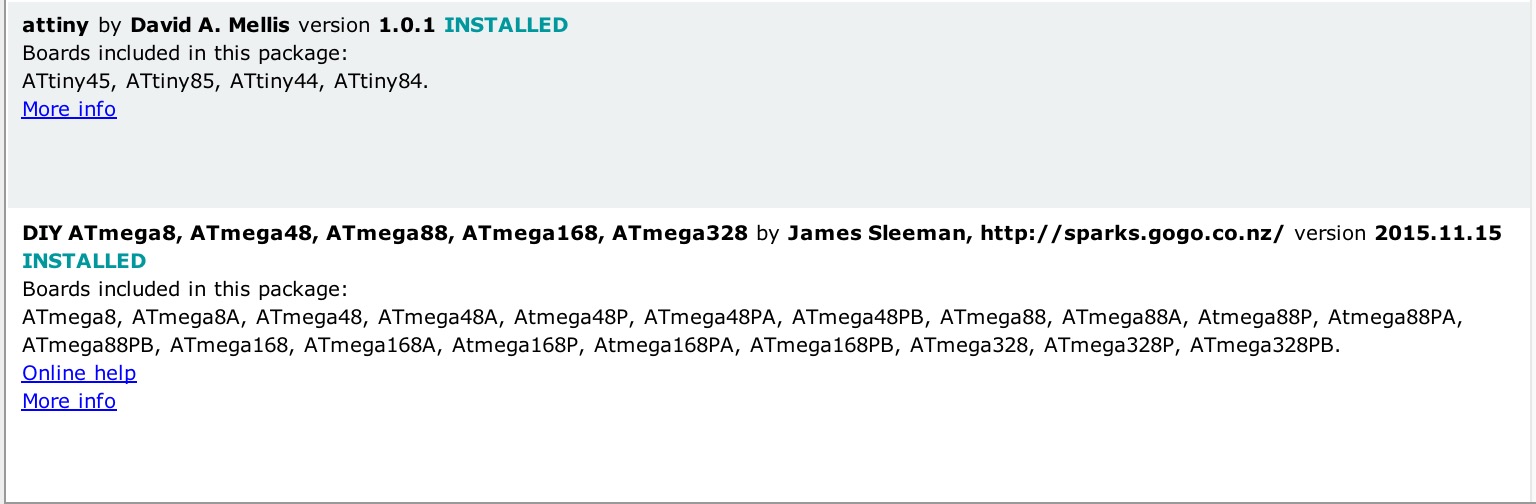
Tips for getting Arduino IDE working on your own board
#1. Here are the json URLs for all Mega & Attiny board with all sorts of processor speed (1, 8, 16, 20 mHz)
Paste The following URLs into the Additional board section.
https://adafruit.github.io/arduino-board-index/package_adafruit_index.json,https://raw.githubusercontent.com/damellis/attiny/ide-1.6.x-boards-manager/package_damellis_attiny_index.json,https://raw.githubusercontent.com/sleemanj/optiboot/master/dists/package_gogo_diy_atmega8_series_index.json
#2. Burn Boot Loader using your FabISP from previous class or AVR MII
#3. Done!
All you need to program now is the FTDI cable, you can also use ISP pins to do all your programing and take out the FTDI cable all together (you might want to break out the TX/RX if yo wanna do serial tutorialcommunication)